Ceramic shell casting is a manufacturing technique prized for producing metal parts with exceptional detail, fine surface finish, and complex geometries. Traditionally, this process relied on injecting wax into a custom-made metal mold (tooling) to create the sacrificial pattern.
The advent of resin 3D printing has revolutionized the first step, allowing manufacturers to skip expensive tooling and produce complex patterns directly from a digital file. By using specialized low-ash castable resins, like Liqcreate Wax Castable, a resin 3D-printers can create high-fidelity patterns for the ceramic shell process, democratizing access to high-precision metal casting for prototyping, small-batch production, and intricate designs. What makes it even better? Within the last years both resin and resin 3D-printers dropped in price drastically. For under 1000 €/$ you can own a set-up of resin, washing, post-curing units for medium and small sized parts. Of course you also need your equipment to prepare casting materials, furnaces and casting metals, which are not included in that price range.
Support
Do you need any help with 3D printing our SLA, DLP or LCD resins? We can help you! Just look for the question you have below. If you can’t find it, let us know by contacting us!
Printer Settings →
How Resin 3D-Printed Parts Work in Ceramic Shell Casting
In ceramic shell casting, a wax pattern is dipped repeatedly into a ceramic slurry and sand to build up a hard outer shell. Once the shell is cured, the wax is melted / burned- out (the “lost-wax” principle), leaving a cavity that perfectly matches the desired part. Molten metal is then poured into this cavity. When using a 3D-printed resin part, the process is nearly identical, but the material used for the pattern must meet two critical criteria:
-
Accuracy and Surface Finish: 3D-printing resins can achieve the fine details and smooth surfaces required for precision casting.
-
Clean Burnout (Low Ash): Unlike standard resins, specialized castable resins are formulated to burn cleannly during the burnout phase, leaving minimal ash residue. Any leftover ash or residual material can contaminate the mold cavity, resulting in defects and imperfections on the final metal part. Low-ash resins ensure the ceramic shell is completely empty, clean, and ready for metal pouring.
This integration delivers significant benefits, including faster turnaround times (by eliminating tooling lead time), lower costs for small to medium batches, and design freedom for complex parts that would be impossible or cost-prohibitive with traditional methods.
Investment Casting With 3D Patterns: Process Overview
It is important to follow the processing guidelines as good as possible. These parameters are tested. Variations in these parameters might lead to insufficient strength of the part or a loss of surface quality in the final metal part.
1. Pattern Design
Design the part in CAD software. It is necessary to hollow the part and build an internal lattice structure to aid in the burn-out process. In free software like Chitubox this can be done easily. Choose a wall thickness of 0,5mm and an infill of 5%. Finally choose the best orientation for the part and make a drain hole of 3mm on the lowest and highest area of the part. The thin walls will help in an ash-free burn-out, thile the lattice structure will support the thin walls from not collapsing during processing. The drain holes are needed so the part won’t be collapse during 3D-printer from the build-up pressure in hollow part.
2. Pattern 3D Printing
3D print the pattern using a specialized resin, such as Liqcreate Wax Castable, on any of the open 3D-printers that it is compatible with. Liqcreate Wax Castable is compatible with printers from $100 and onwards. Place the part in the slicing software, place supports and start printing!
3. Pattern Preparation
After 3D-printing, the parts need to be washed for at least 2x 3 minutes. If parts contain only 2 drain-holes, spend some extra time washing the inside of the hollow parts. This can be done by pouring washing solvent, IPA or ethanol in the drain hole and let it fill and empty a few times. Then let the part sit on your desk for at least 30 minutes prior to 30 minutes UV-curing. After UV post-cure, fill any vents and drain holes using standard foundry wax or 3D-print resin with an UV-light. Then, follow your usual process for pattern assembly, attaching the printed parts with wax to a central sprue to form a casting tree.
4. Shell Making
Follow the standard workflow from R&R with its SuspendaSlurry® materials. SuspendaSlurry material was developed to eliminate costs associated with continuous mixing and to simplify the initial mixing process as the pre-mixed, chemically suspended ceramic shell slurry eliminates the need to weigh and mix binder and refractory components. Used for non-ferrous metals, SuspendaSlurry FS material is recommended for both initial and backup coats. Follow your usual process in the link above to dip the tree in the ceramic slurry, then coat it. This process is repeated several times until a sufficiently strong and thick ceramic shell is built up.
5. Pattern Burnout
Follow your standard burnout process, which typically involves placing the shell in a flash-fire furnace. A common technique is flash fire, which rapidly heats the parts to between 700 °C and 900 °C (1,300 °F and 1,650 °F) for two hours to enure the resin pattern completely burns away.
6. Casting
Follow your usual process to pour the molten metal (e.g., bronze, brass, aluminum, steel, or titanium) at the right temperature into the hot ceramic mold cavity.
7. Shell Removal
Allow the metal to cool and solidify. The ceramic shell is then removed using a water or sandblaster.
8. Cutting Off
Separate the final metal parts from the sprue/tree using a bandsaw or other cutting tools. The finished metal part then undergoes standard post-processing, such as grinding or machining.
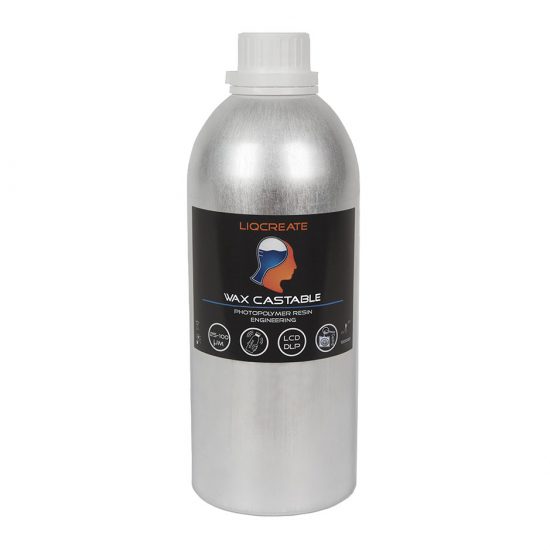
Wax Castable
Liqcreate Wax Castable is a wax-based resin, perfect for manufacturing jewelry, dental and industrial parts using the direct investment casting method. Liqcreate Wax Castable is easy to use on open LCD, MSLA and DLP based 3D-printers in the range of 385 – 420nm. 3D-printed parts from this material captures intricate features and show crisp details. This wax-based material offers smooth surfaces with clean burnout for a reliable casting process. Create custom made elegant organic geometries according to your preferences with excellent casting for positive and negative engravings.
Key benefits |
3D-Printer compatibility |
| · High precision | · Asiga Max and Pro 4K |
| · Wax based | · Phrozen3D & Creality series |
| · Clean & ash-free burnout | · Elegoo & Anycubic series |
| · Excellent casting of engravings | · And many more |